

Happy Monday, guys! (If there is such a thing...)
I got some great spring cleaning done this weekend, including cleaning up some light switches! If you live in an older home like me, these are some of the little details that get easily overlooked, but can really brighten up your house if you deal with them.
Here is one such panel, probably the most heavily-used because it's in a central hallway:
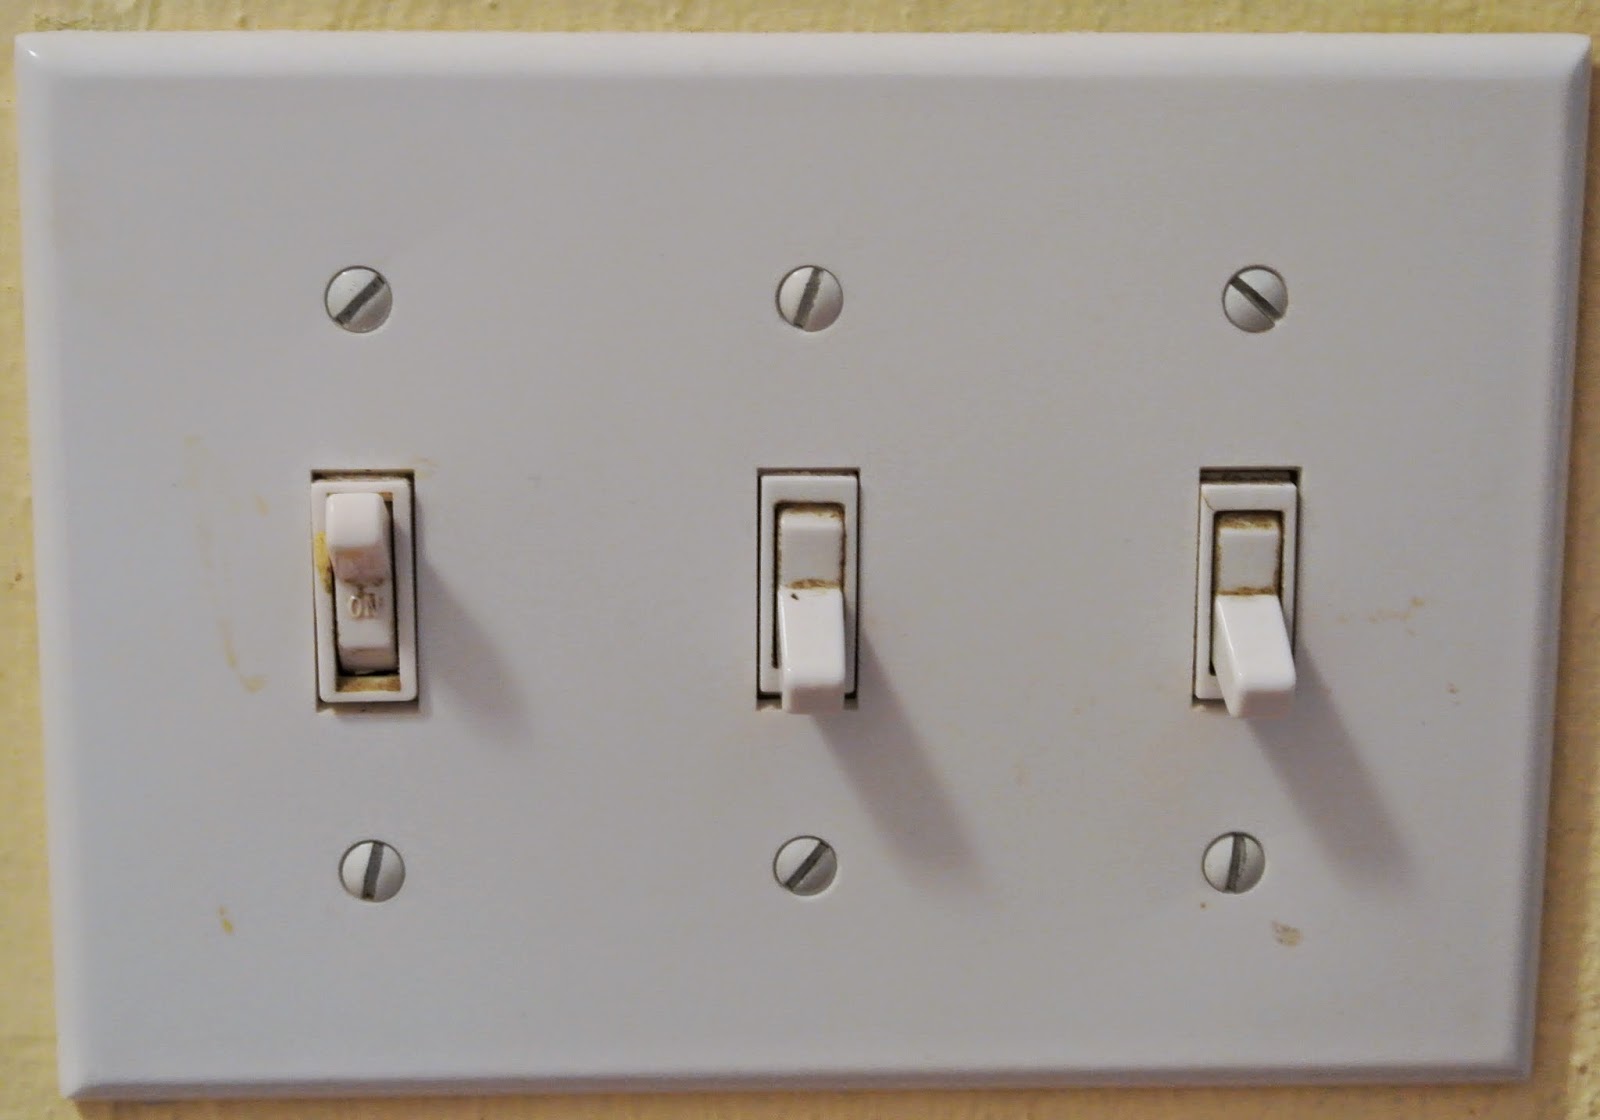
Ew. Look at all that grime in there! To start, go to your circuit breaker panel and turn off the power to the switch you're working on. I learned this the hard way by getting a little jolt once while cleaning behind the panel. It didn't really hurt, but it was terrifyingly scary, so don't let it happen to you!
Once the power is off, take the screws off and wipe the plate down with your favorite general cleaning product (here's mine: Method All Purpose Natural Surface Cleaner, Lavender, 28 Ounce).
Then clean the switches themselves: use a q-tip and your cleaning spray to get as much of the surface dirt off as possible. To get into the little nooks and crannies, use something kind of sharp - I used some pointy tweezers (note: majorly disinfect after you're done...ewww....) covered with paper towels to get in there. A teeny screwdriver, a toothpick, a fat needle - these would probably all work. You'll be grossed out by the grossness you remove.
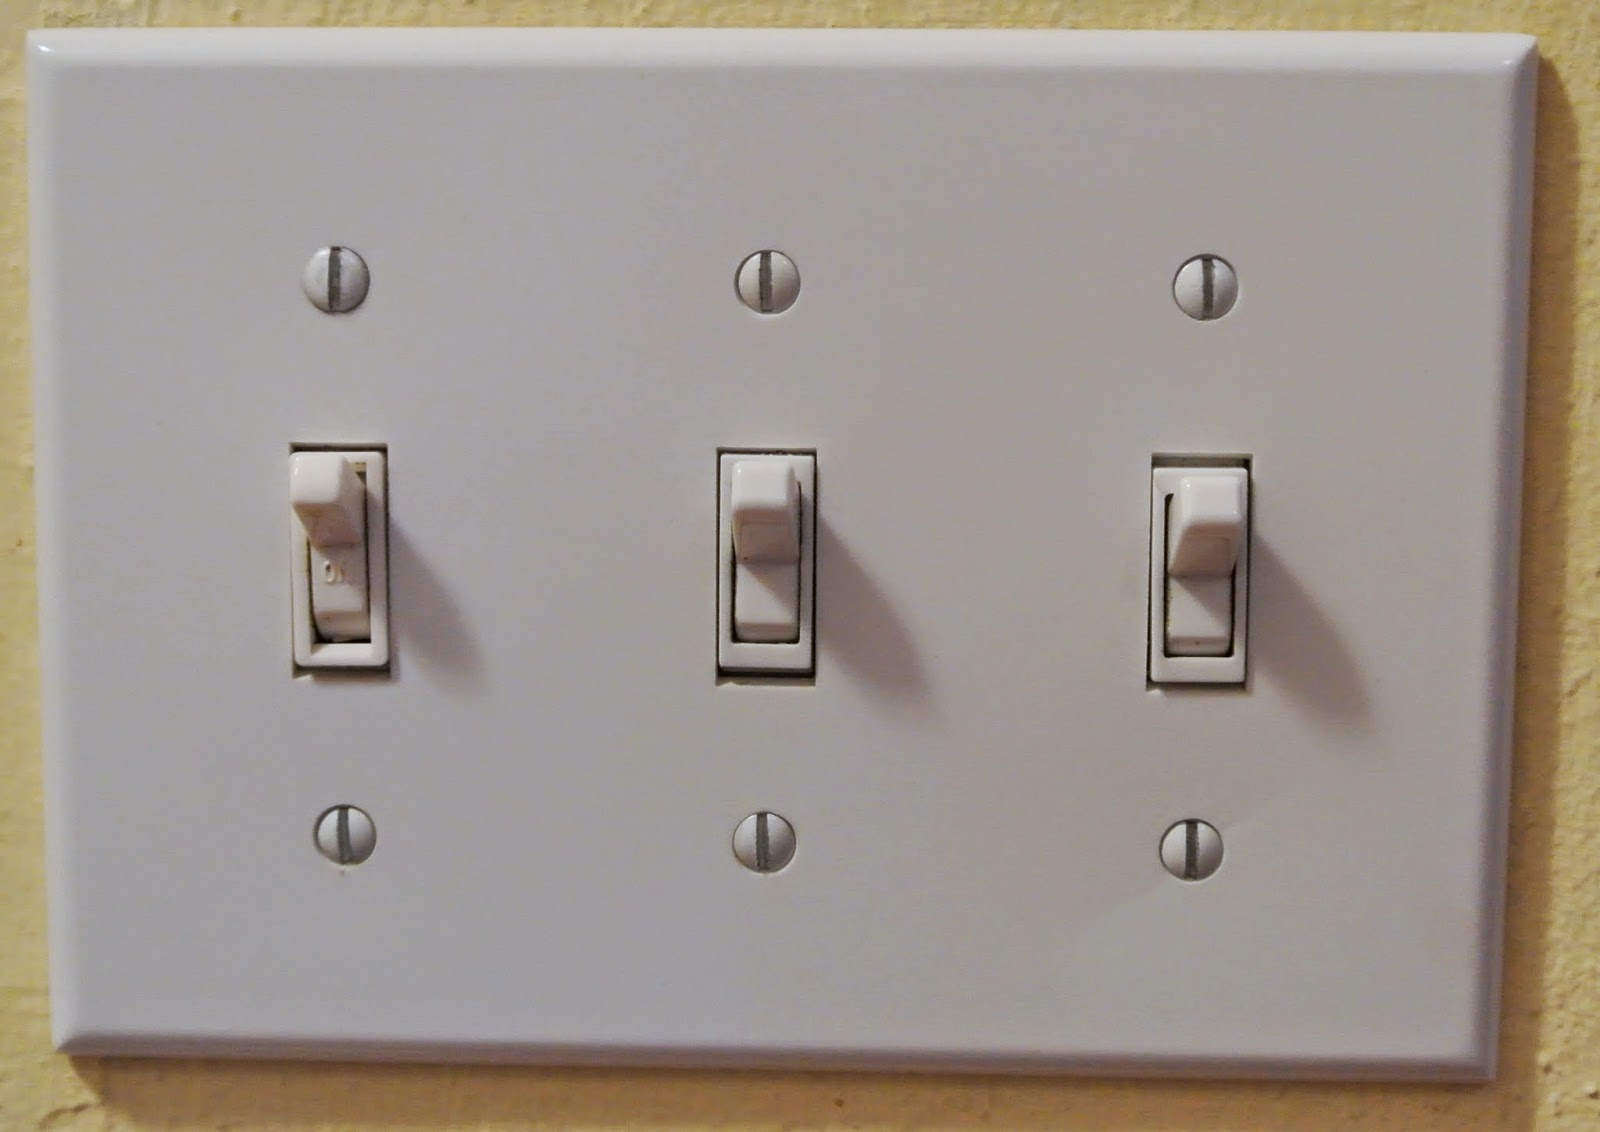
Put everything back and you'll be amazed by how much better it looks! Especially if you line up all the screw slots in the same direction :)
Some of my other switches needed more of a facelift. This one, for instance:

I gave the screws a coat of white spray paint in my magic spray paint box of wonderment (a.k.a. random cardboard box in garage):

(One day, in the far, far away future, I may be able to finally write a post that doesn't involve spray paint.) Notice the switch on the left is an almond-y color and doesn't match. I figured painting it would be much easier/free-er than replacing the switch with a brand new one, but you could do that too if you know your electrical wiring stuff. Which I don't.
After the whole cleaning thing, tape everything off with newspaper with a hole cut out of it:

And give it a light coat of spray paint. It only took maybe about 10 minutes for it to dry enough to flip the switch and paint the other side, then maybe a couple hours to dry completely before reassembling:

Swoon!!
I did the same for a couple slider-type light switches, some power sockets, phone jack sockets, etc. Just remember to be safe and turn off the power to the right things.
Omg. What I thought would be a really quick post turned out to be major. I'm gonna go work on being a little less OCD now...
Follow
No comments:
Post a Comment