
I first did this with a winter coat when we lived in Boston. For some reason, even nice heavy coats often come with a really thin crepe-y polyester lining that not only rips easily at the seams, but isn't very warmHand-sewing them back up is only a temporary fix.
Here's a quick project to permanently fix up thin coat pockets that have holes in them. (It took me about an hour, but am really.easily.distracted. Especially if there are dogs on tv! And in your lap.)
For your replacement lining material, pick a fabric that is both durable and feels good against your hands. If you have a more fitted coat, pick a thinner fabric so you don't get bulky pockets that mess up your look. For a coat that's heavy, you can go for thick fleece or even faux fur, and you will not ever want to take your hands out of your pockets. The one thing you don't need to worry about is how the material looks, because it will be hidden from view! (That also means you can pretty much be as messy as you want to be with the stitches - lazy or inexperienced sewers rejoice.)
Here is the wool coat that will be my victim today, with its torn pocket innards displayed in dramatic fashion:

First, with a seam ripper or sharp scissors, separate the lining from the outer fabric at the front bottom corner under the pocket:


...on both sides of the pocket. If you're going to be replacing both pockets, only take apart one at a time so you can use the other for reference in case you get lost in putting things back together.

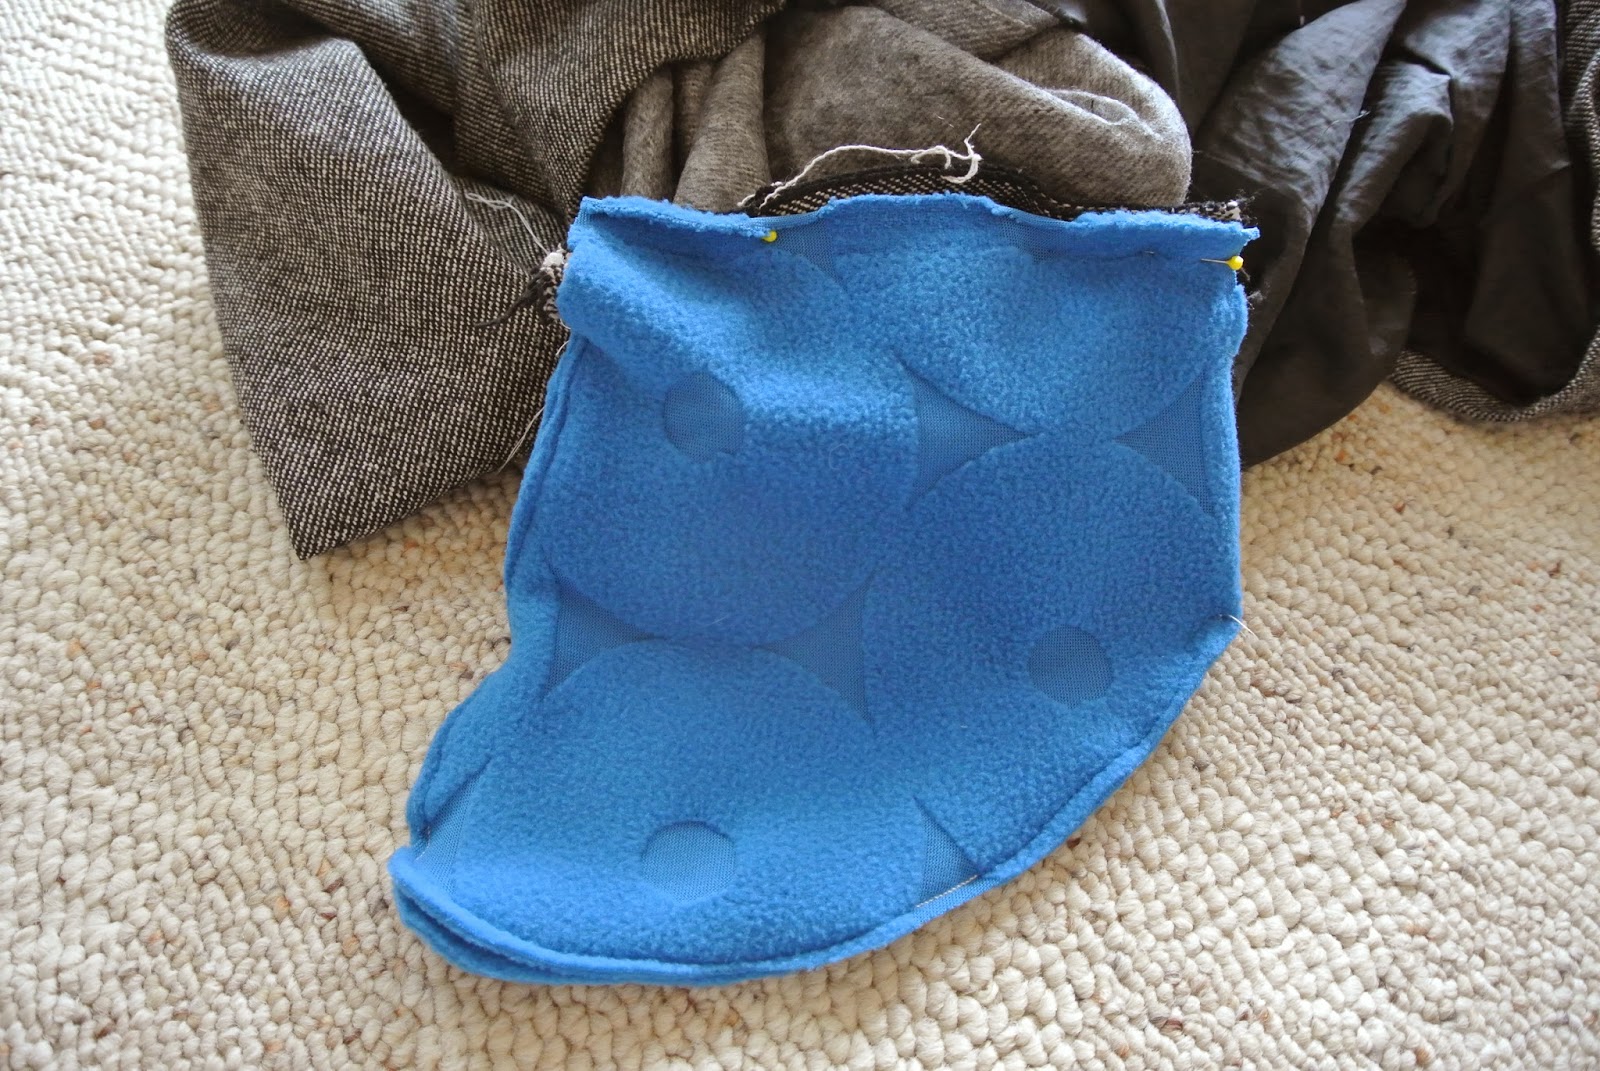
So, now that you have your old pocket freed, you can use it as a pattern for your new pocket! For this coat I used a thin fleece fabric. (Please don't tell anyone it's from Ikea's fabric aisle, but I happened to already be there and it saved me from a trip to the fabric store.)


And there you go! With your new toasty pockets hopefully you're gonna face the chill feeling like this:

No comments:
Post a Comment